How to Edit Page Images

Step 1 |
|
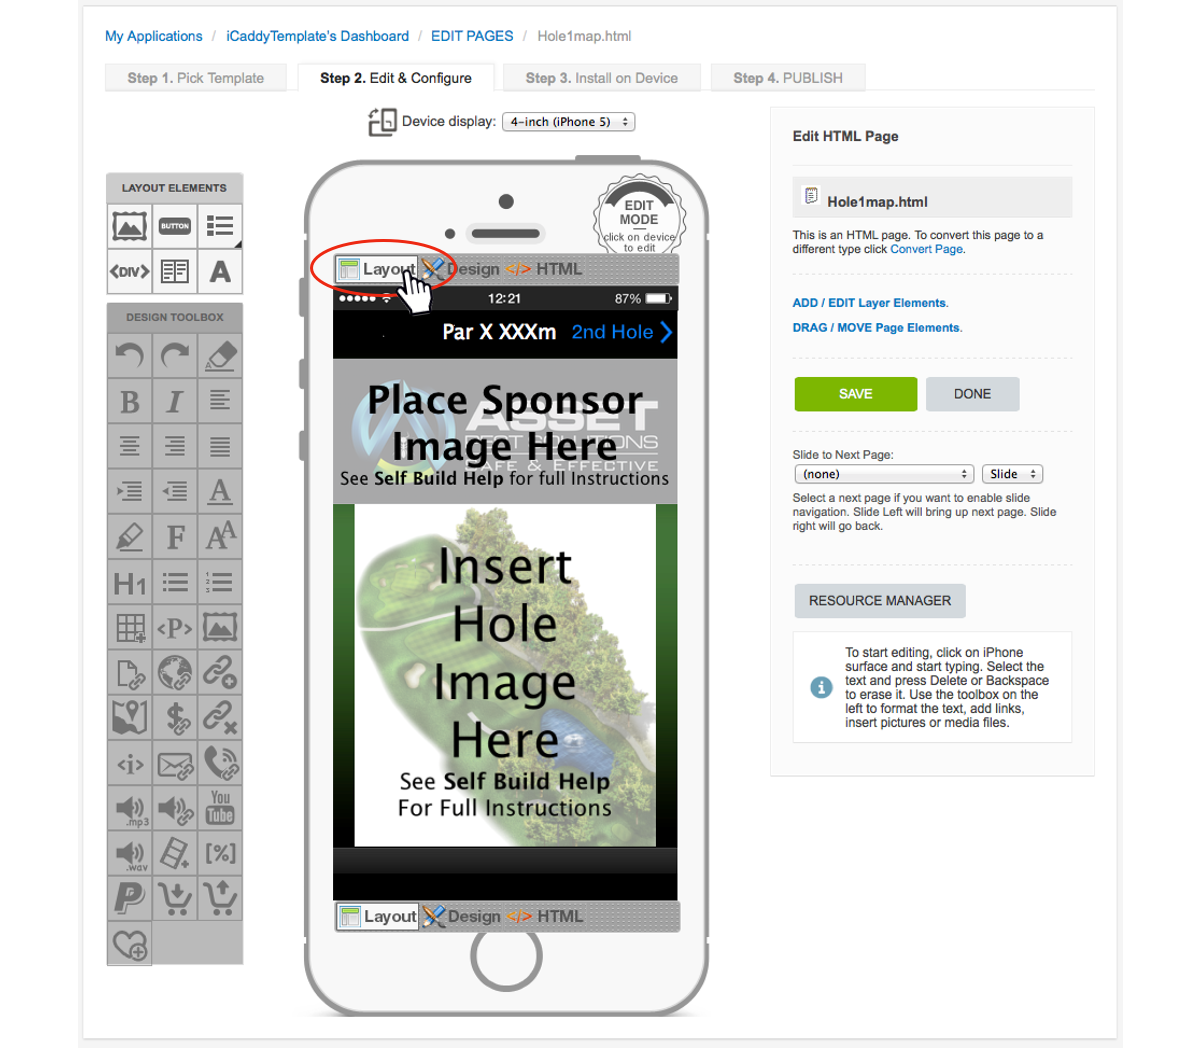
Navigate to the particular page you wish to edit (e.g. My Applications / App Name's Dashboard / EDIT PAGES / Hole1map.html, as shown in the Navigation Path above). On the chosen page, select 'Layout' mode (located
at the top left of the 'Handset Display').
For instructions on how to navigate to the individual page edit level, go to How to Start Editing Your App. |
Step 2 |
|
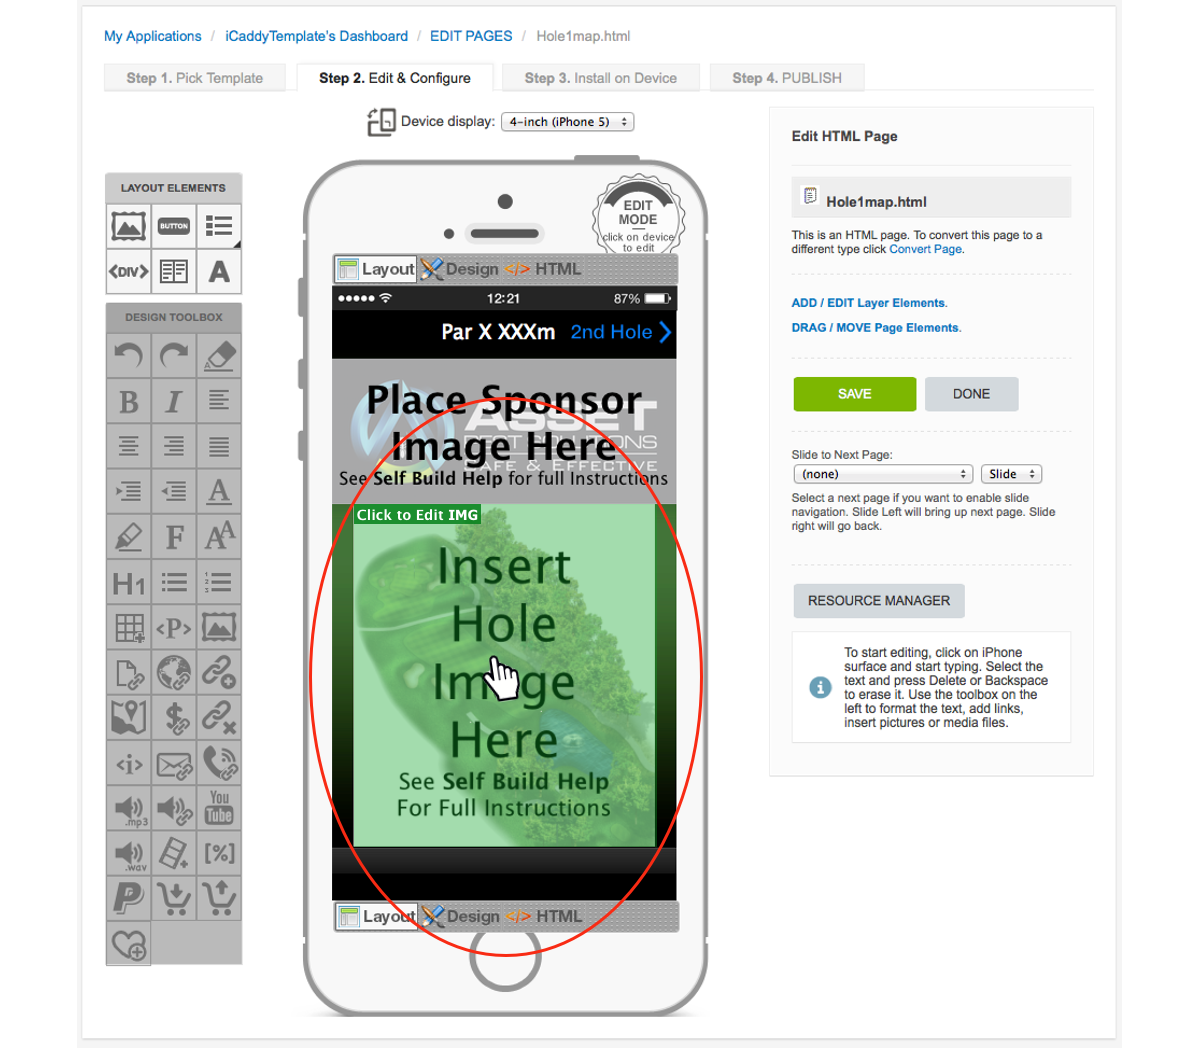
Hover your mouse over the image on the 'Handset Display' that you wish to change. The image (Element) will then be highlighted (and 'Click to Edit IMG' will appear at the top left of the image).
Click anywhere on the highlighted image to go to the 'Element Editor' for that image (i.e. the selected 'Element'). The 'Element Editor' window for the selected 'Element' will appear (as shown in the next step). |
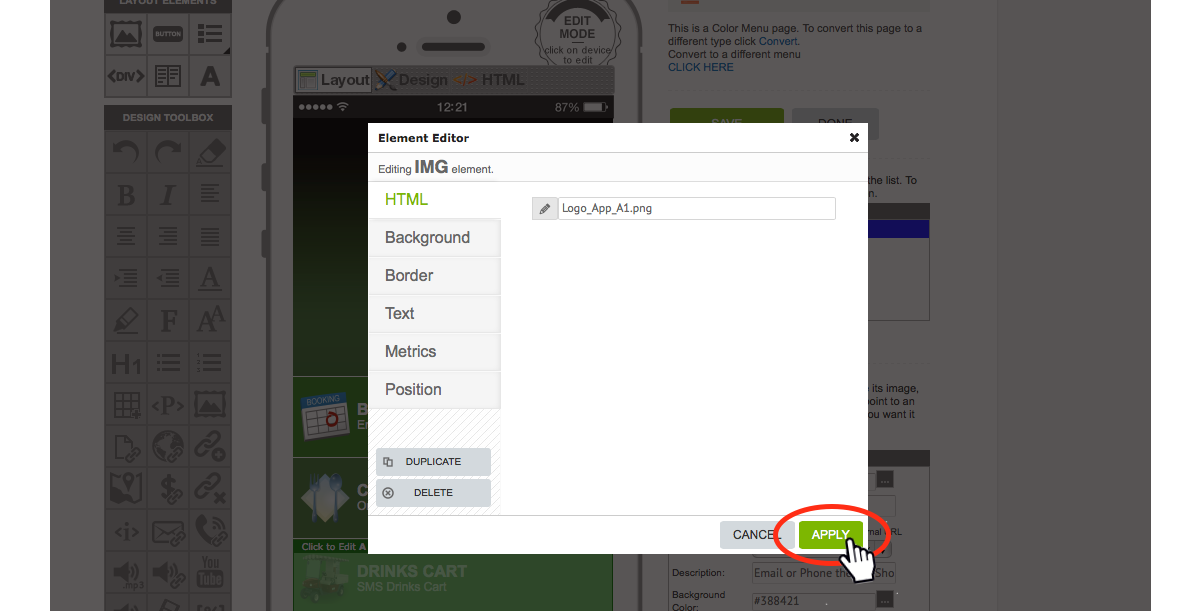
Step 3 |
|
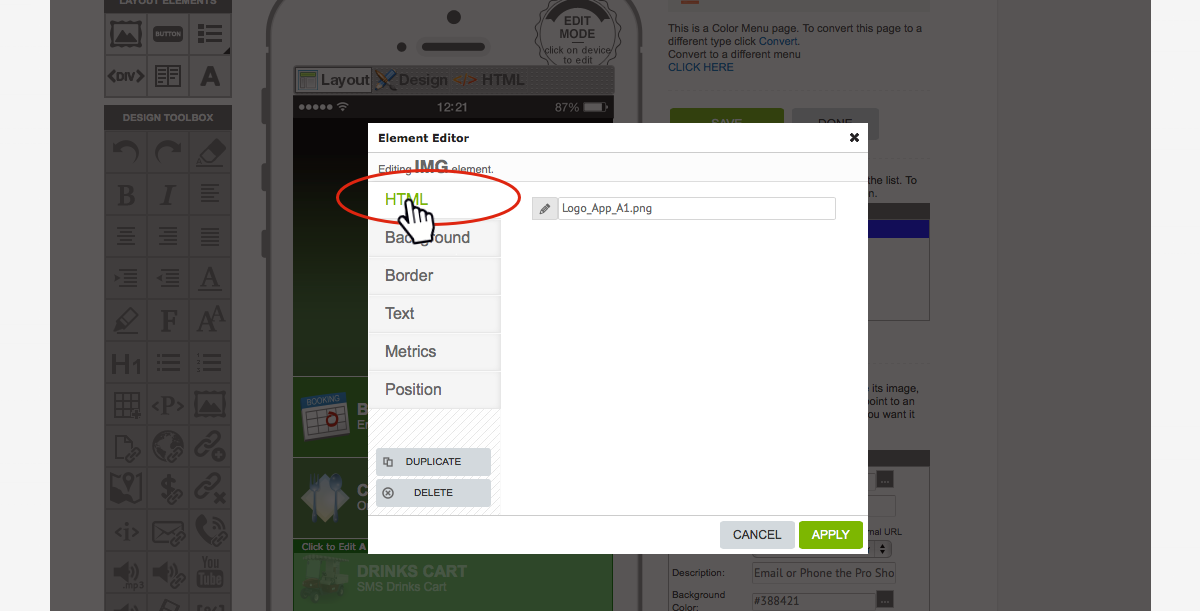
In the 'Element Editor', select the 'HTML' tab on the left of page.
|
Step 4 |
|
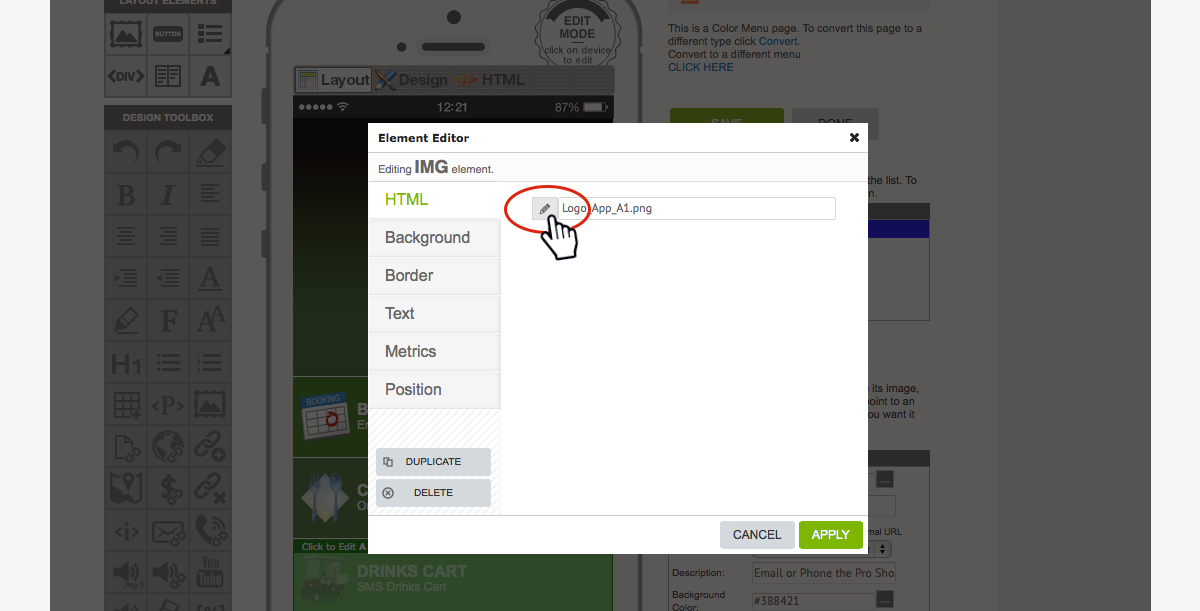
Click on the Pencil symbol (shown above). The 'RESOURCE MANAGER' window will appear.
|
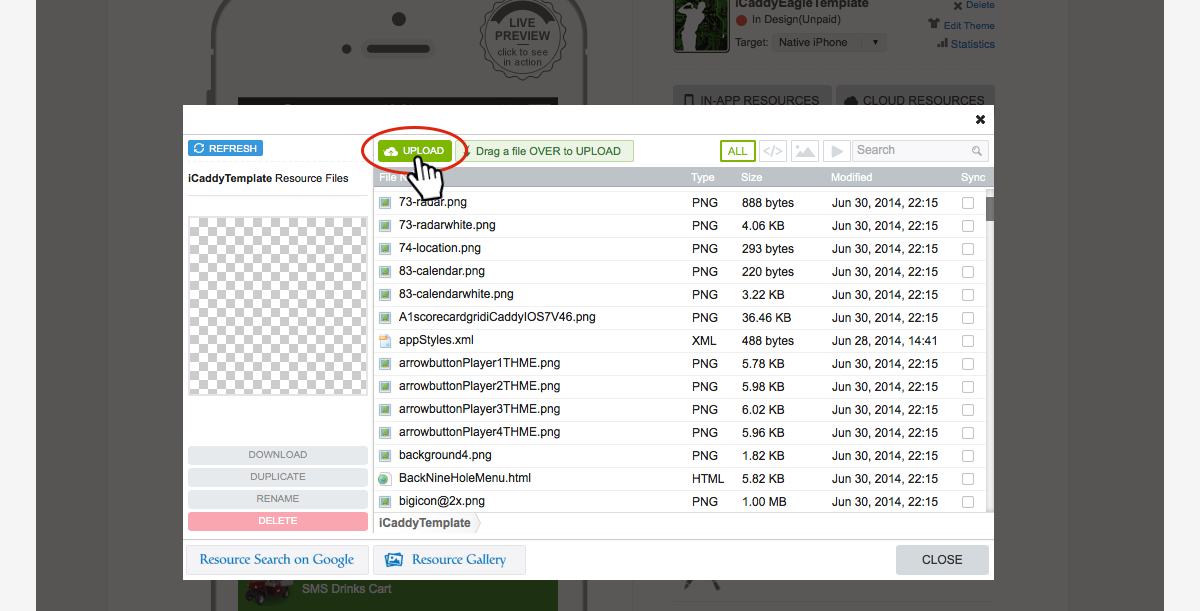
Step 5 |
|
If you have not already uploaded the required image into the 'Resource Files' for your App, select 'UPLOAD'. If you have already uploaded the image into the App's 'Resource Files', select the file, click 'CHOOSE'
and skip to Step 9 below.
|
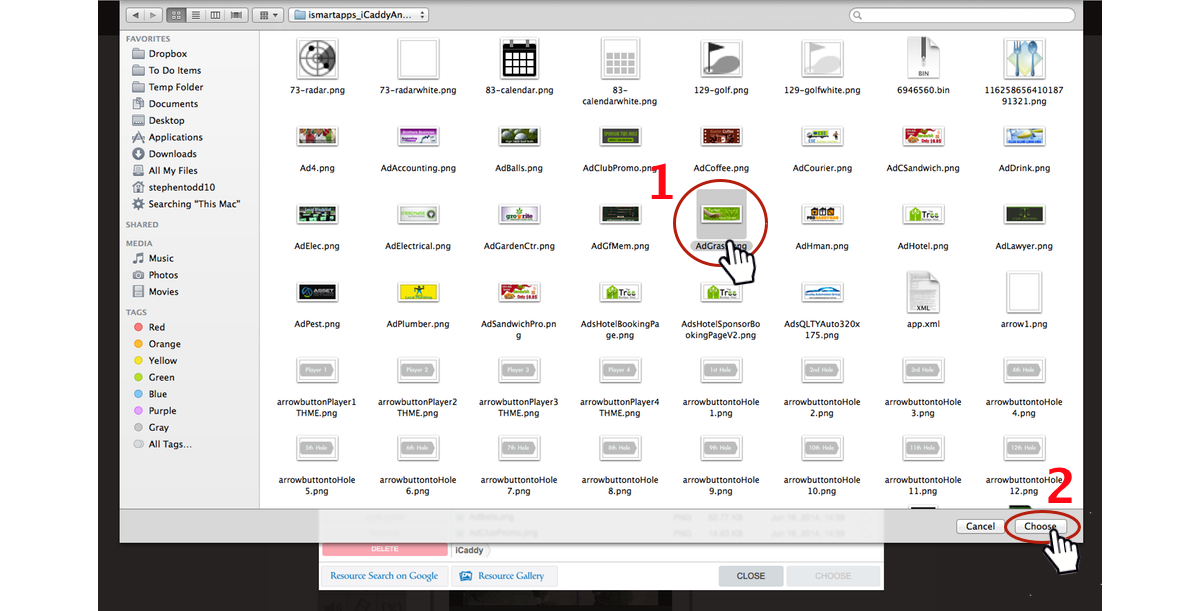
Step 6 |
|
Locate the required image from your files (stored locally on your computer). It is important to remember that file names to be uploaded into the 'In-App Resources' must have NO SPACES and only contain letters, numbers and underscores (e.g. Example_File_Name_1).
After selecting required image (file), click 'Choose' (or 'Open, depending on your operating system). |
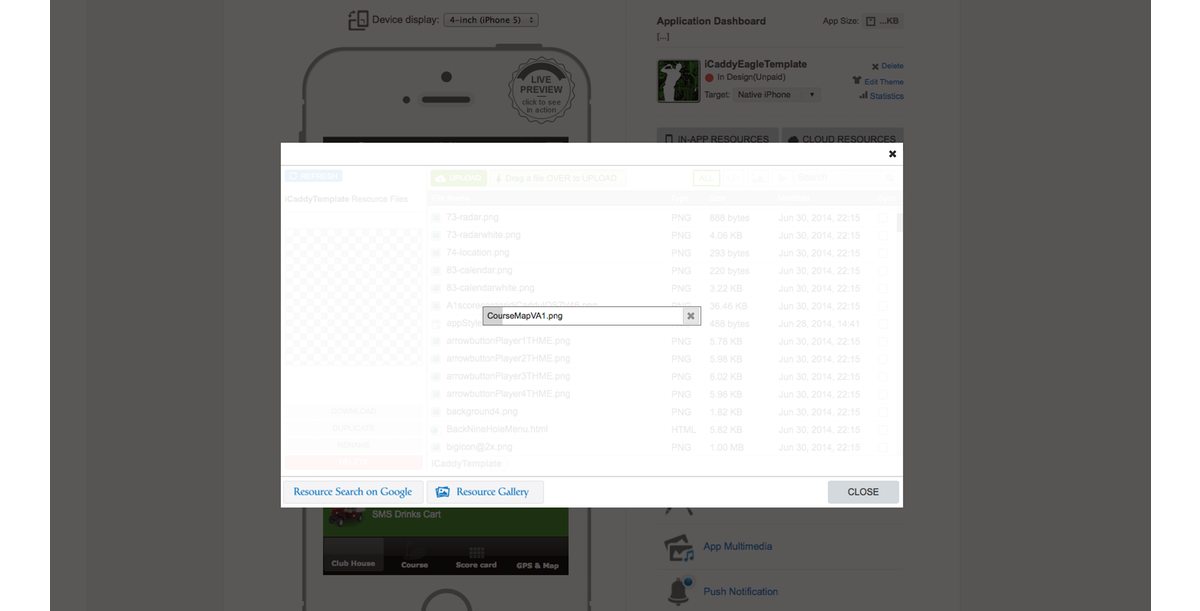
Step 7 |
|
Wait for the file to upload. A progress bar will indicate that the file is uploading. You will then return to the 'RESOURCE MANAGER' window (as shown below).
|
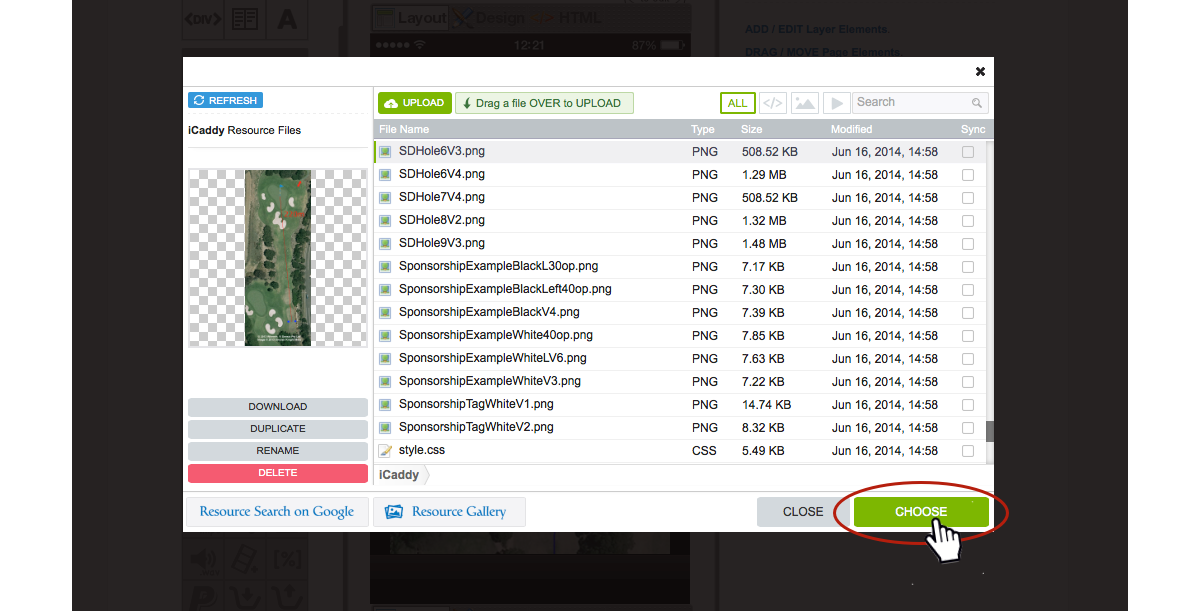
Step 8 |
|
Once the file is listed in the 'RESOURCE MANAGER', it has been added to the 'In-App Resources' for your App. You may need to scroll down the list to locate a recently uploaded file.
Click on the file to check that the file has uploaded correctly. A preview of the selected file will appear on the left-hand side. To assist searching, you can filter the file list to display image files
only, by selecting the 'Image Button' (located on the top row of the 'RESOURCE MANAGER').
If the file has been uploaded correctly, click 'CHOOSE' to return to the 'Element Editor'.
|
Step 9 |
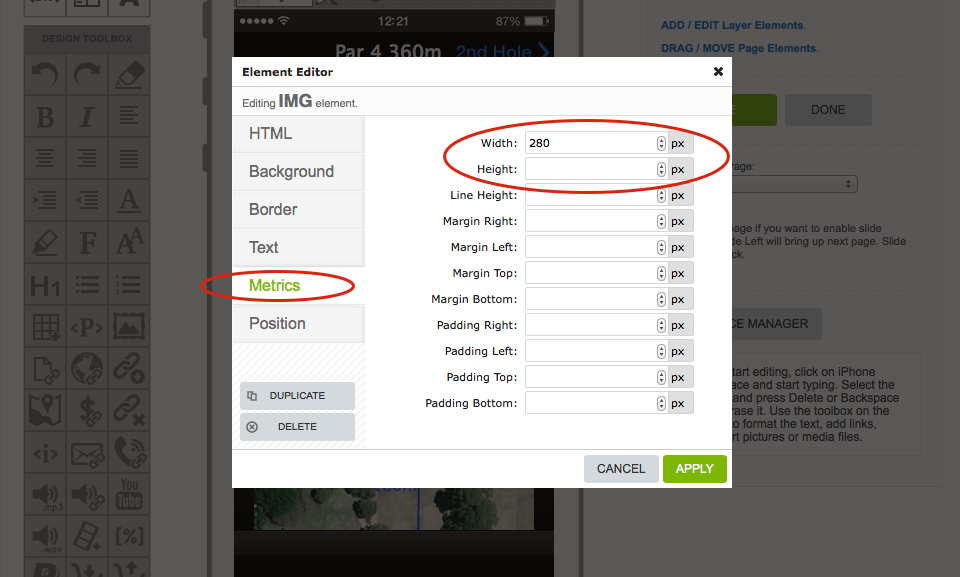
|
After clicking 'CHOOSE' in the previous step, the 'Element Editor' will appear again. At this point, the size of the image can be edited by selecting the 'Metrics' option from the tab list on the left side of the
'Element Editor'.
If the width and height values are left blank, images greater than 320px wide will appear at the full width of the handset's screen. Small images can be enlarged and large images can be reduced to fit the page as required (via the width and height settings). If the height value is not entered, the image's height will appear relative to the specified width. On some Android platforms, both the height and wide values must be specified. Note: When enlarging small images, low-resolution images may appear blurred on the handset when enlarged. High-resolution images provide greater sizing flexibility. Note: Margin and padding settings can also be edited in the Metrics tab, however these settings are for advanced users only. Editing the margin and padding settings is not required when building an App using the App Wizard range of templates. Editing these settings may cause unintended layout changes in your App. Tip: Always back up your App before editing margin and/or padding settings. We recommend backing you App up regularly throughout the build process, particularly after significant editing sessions. |
Step 10 |
|
Once finished editing select 'APPLY'. This will associate the image with the 'Element' (selected in Step 2 above) & return you to the 'EDIT PAGES' screen.
|
Step 11 |
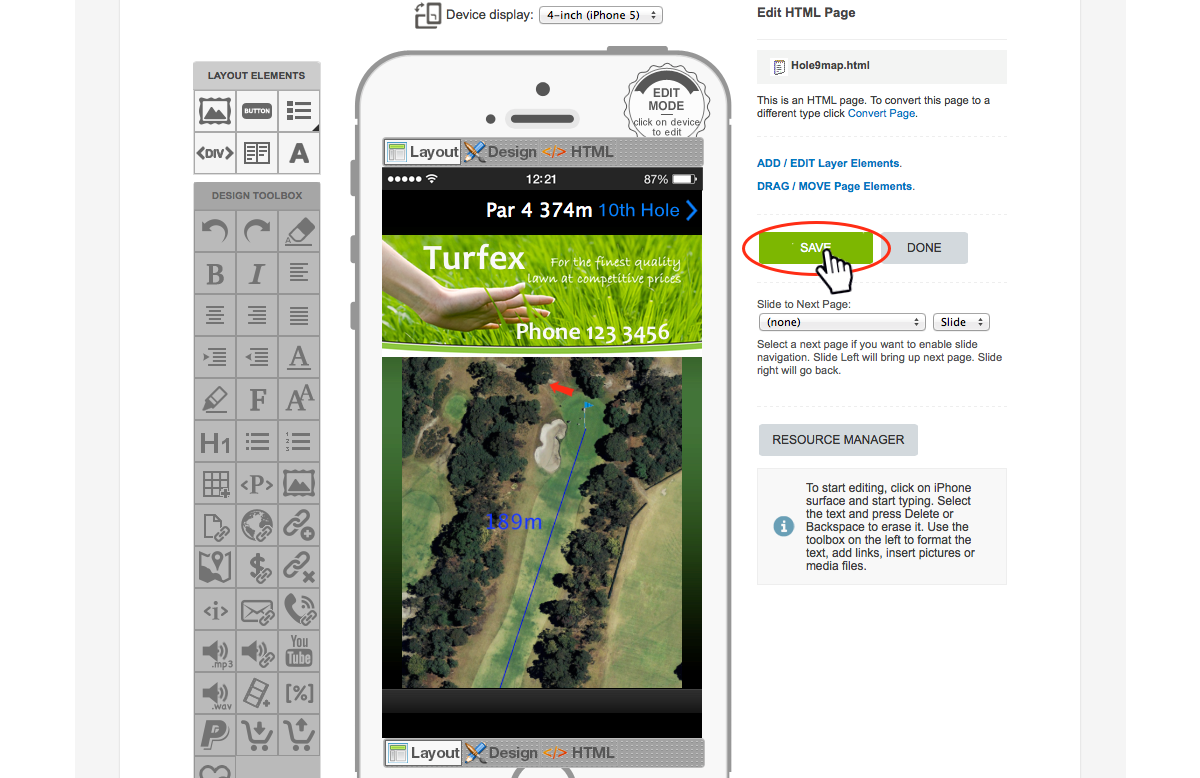
|
Click 'SAVE'.
Click 'DONE' when finished.
Repeat this process for each image that you wish to edit througout your App. Note: You can review the new images inserted into your App using the App Wizard Previewer on your device. Refer to How to Download the App Wizard Previewer and Preview an App on Your Device, for further information on how to download and use the App Wizard Previewer App. |